Exercise - Deploy care management analytics capability
In this exercise, you deploy the care management analytics capabilities. You upload sample data to the process folder and run the data transformation pipeline.
Prerequisites
Deploy healthcare data solutions in Microsoft Fabric and the foundational notebooks and pipelines as mentioned in exercise - Exercise - Deploy Healthcare Data Solutions in Microsoft Fabric With Sample Data.
Deploy and configure CMS claims data transformations and run the claims data transformations pipeline.
Deploy the clinical sample data as mentioned in the exercise - Exercise - Deploy Healthcare Data Solutions in Microsoft Fabric With Sample Data. You use the sample data to explore this capability.
Deploy SDOH datasets transformations and run SDOH ingestion data pipeline as mentioned in Deploy and use SDOH datasets transformations for analytics.
Deploy Care management analytics capability
Navigate to Power BI and sign in.
Select the Fabric workspace FL HC Cloud you used to deploy healthcare data solutions in Fabric.
Locate and select the healthcare data solutions FLHealthcare you deployed.
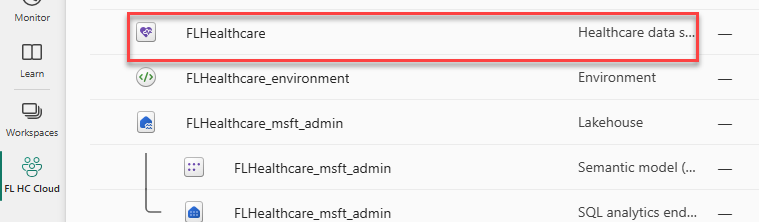
In the Solution capabilities and sample data, select Care management analytics.

Review what is deployed and the prerequisites.
Select Deploy to workspace.

Wait for the deployment to be completed. After the deployment is completed, you can see a notification on the message bar.
Select Manage capability.

Here, you can view, configure, and manage the artifacts deployed with the capability.


Upload sample data to Process folder
Note
If you already copied the sample clinical data into the process folder, skip to the next task.
You can copy the sample data to the process folder using the pipeline or the notebook.
Use pipeline to copy the sample data to the Process folder
You can use the copy data activity pipeline to copy the sample data from Sample data folder to the process folder in the bronze lakehouse. You can set up a pipeline with Source and Destinations folders. For more detailed steps, see the Exercise - Deploy Healthcare Data Solutions in Microsoft Fabric With Sample Data.
Source folder: Root folder | SampleData | Clinical | FHIR-NDJSON | FHIR-HDS | 51KSyntheticPatients
Destination folder: Root folder | Process | Clinical | FHIR-NDJSON | FHIR-HDS
Use notebook to copy the sample data to the Process folder
Select the Fabric workspace FL HC Cloud you deployed healthcare data solutions.
Locate and select the FLHealthcare_msft_bronze lakehouse.

Select Open notebook and select New notebook.

Paste the following script. This script copies the 51KSyntheticPatients dataset located in the SampleData folder to the Process folder.
from notebookutils import mssparkutils
source_path = '[Source ABFS path]'
target_path = '[Target ABFS path]'
mssparkutils.fs.fastcp(source_path,target_path)
Select Lakehouses.

Expand Files | SampleData | Clinical | FHIR-NDJSON | FHIR-HDS and then select the … button of the 51KSyntheticPatients node and select Copy ABFS path.

Replace [Source ABFS path] with the path you copied.

Expand Process | Clinical | FHIR-NDJSON and then select the … button of the FHIR-HDS node and select Copy ABFS path.

Replace [Target ABFS path] with the path you copied.
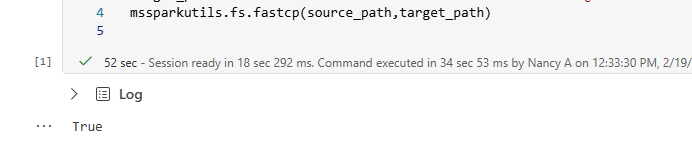
Select Run and wait for the run to be completed.

The script should run successfully.
Refresh the FHIR-HDS node located under Process | Clinical | FHIR-NDJSON.

Select the FHIR-HDS node. You can view the copied dataset.

Select the dataset. You should see the copied files.


SDoH Report workaround
Select the workspace you created.
Locate and select to open the msft_bronze Lakehouse.
Expand Files | ReferenceData | SDOH and select LocationDatasets.
Select the … button of the ZIPToFIPSMapping.xlsx file and choose Properties.

Copy the ABFS path and keep it on a notepad. You will need this path in a future step.

Select the workspace you created.
Locate and select to open the msft_silver Lakehouse.
Select Open notebook and choose New notebook.
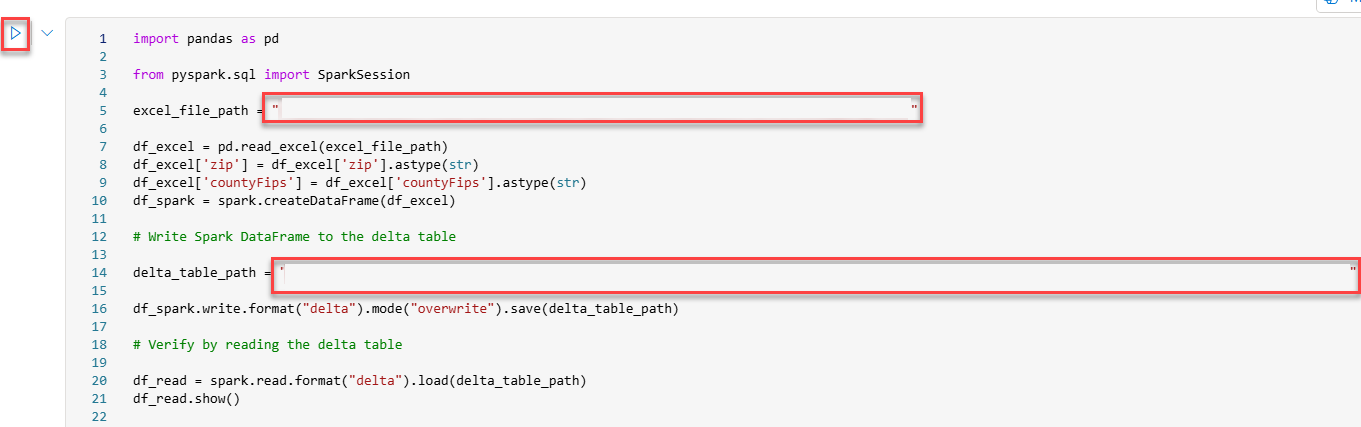
Paste the script below.


import pandas as pd
from pyspark.sql import SparkSession
excel_file_path = "[Excel File path]"
df_excel = pd.read_excel(excel_file_path)
df_excel['zip'] = df_excel['zip'].astype(str)
df_excel['countyFips'] = df_excel['countyFips'].astype(str)
df_spark = spark.createDataFrame(df_excel)
# Write Spark DataFrame to the delta table
delta_table_path = "[Table path]"
df_spark.write.format("delta").mode("overwrite").save(delta_table_path)
# Verify by reading the delta table
df_read = spark.read.format("delta").load(delta_table_path)
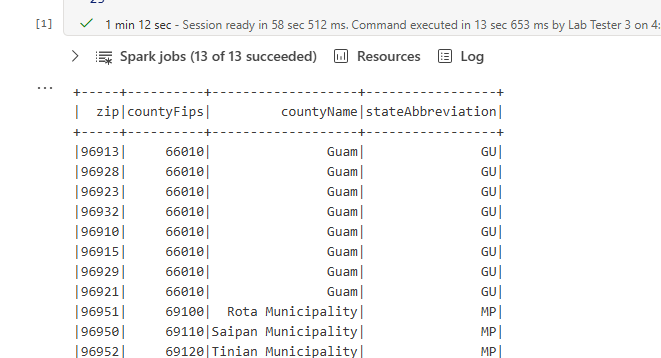
df_read.show()
Replace [Excel file path] with ABFS path you copied from the bronze lakehouse.
Expand the lakehouse and then expand Tables.
Locate the ZipToFipsMapping table, select the … button and choose Copy path.
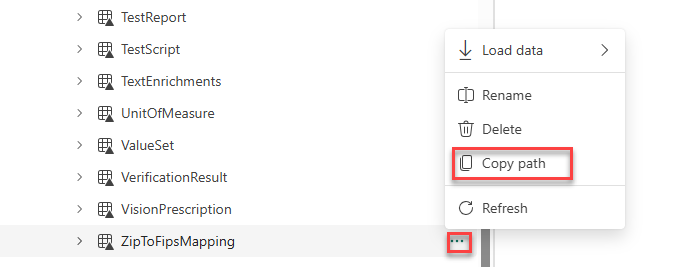
Replace [Table path] with the table path you copied.
Select Run cell.
The delta data-frame should be displayed in the output.


Run data transformation pipeline
Select the workspace FL HC Cloud where you deployed healthcare data solutions.
Locate and select the FLHealthcare_msft_clinical_data_foundation_ingestion data pipeline.

Review the pipeline activities.
Select Run and wait for the pipeline run to be complete.

Note
If the pipeline fails, rerun the pipeline and it should succeed the second time.
If the fhir_ndjson_bronze_ingestion notebook fails, open the error message. If you don’t get any errors, continue to the next task.

Review the error details. The error directs you to check the BusinessEvents table.

Select the workspace FL HC Cloud.
Locate and open the admin lakehouse.

Expand Tables and select the BusinessEvents table.
Check the recently created rows.

In the FL HC Cloud workspace, locate and open the bronze lakehouse.

Expand Files > Failed > Clinical > FHIR-NDJSON > FHIR-HDS and select 51KSyntheticPatients folder.
If you just have one file, then you can proceed. This file is the only one with issues and it won’t impact your next tasks in this exercise.


Run the data transformation pipeline
Select the workspace FL HC Cloud.
Locate and select the FLHealthcare_msft_cma data pipeline.

Review the pipeline activities.
Select Run and wait for the pipeline run to be complete.
