Note
Access to this page requires authorization. You can try signing in or changing directories.
Access to this page requires authorization. You can try changing directories.
The objective of this article is to demonstrate the steps to be performed in TheOrgWiki and Microsoft Entra ID to configure Microsoft Entra ID to automatically provision and de-provision users and/or groups to TheOrgWiki.
Note
This article describes a connector built on top of the Microsoft Entra user provisioning service. For important details on what this service does, how it works, and frequently asked questions, see Automate user provisioning and deprovisioning to SaaS applications with Microsoft Entra ID.
Prerequisites
The scenario outlined in this article assumes that you already have the following prerequisites:
- - A Microsoft Entra user account with an active subscription. If you don't already have one, you can Create an account for free. - One of the following roles: - Application Administrator - Cloud Application Administrator - Application Owner..
- An OrgWiki tenant.
- A user account in TheOrgWiki with Admin permissions.
Step 1: Assign users to TheOrgWiki
Microsoft Entra ID uses a concept called assignments to determine which users should receive access to selected apps. In the context of automatic user provisioning, only the users and/or groups that have been assigned to an application in Microsoft Entra ID are synchronized.
Before configuring and enabling automatic user provisioning, you should decide which users and/or groups in Microsoft Entra ID need access to TheOrgWiki. Once decided, you can assign these users and/or groups to TheOrgWiki by following the instructions Assign a user or group to an enterprise app.
Important tips for assigning users to TheOrgWiki
It's recommended that a single Microsoft Entra user is assigned to TheOrgWiki to test the automatic user provisioning configuration. More users and/or groups may be assigned later.
When assigning a user to TheOrgWiki, you must select any valid application-specific role (if available) in the assignment dialog. Users with the Default Access role are excluded from provisioning.
Step 2: Set up TheOrgWiki for provisioning
Before configuring TheOrgWiki for automatic user provisioning with Microsoft Entra ID, you need to enable SCIM provisioning on TheOrgWiki.
Sign in to your TheOrgWiki Admin Console. Select Admin Console.

In Admin Console, Select Settings tab.

Navigate to Service Accounts.

Select +Service Account. Under Service Account Type, select Token Based. Select Save.
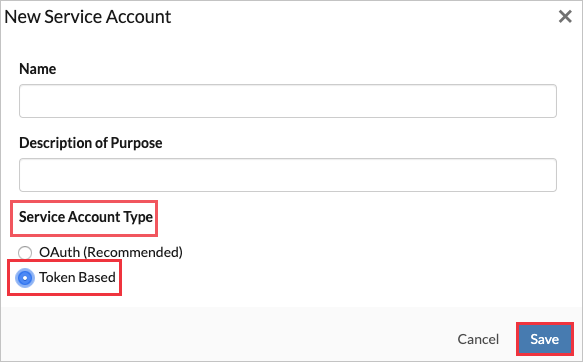
Copy the Active Tokens. This value is entered in the Secret Token field in the Provisioning tab of your TheOrgWiki application.

Step 3: Add TheOrgWiki from the gallery
To configure TheOrgWiki for automatic user provisioning with Microsoft Entra ID, you need to add TheOrgWiki from the Microsoft Entra application gallery to your list of managed SaaS applications.
Sign in to the Microsoft Entra admin center as at least a Cloud Application Administrator.
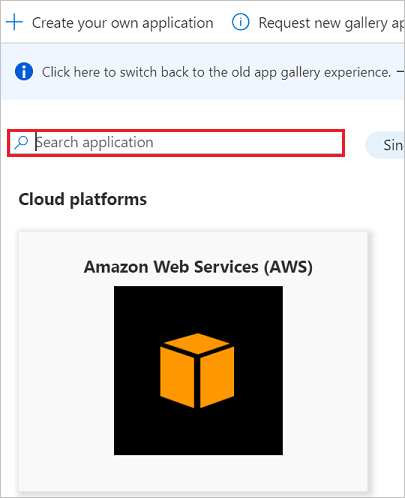
Browse to Entra ID > Enterprise apps > New application.
In the Add from the gallery section, type TheOrgWiki, select TheOrgWiki in the results panel.
Select the Sign-up for TheOrgWiki button which will redirect you to TheOrgWiki's login page.

In the top right-hand corner, select Login.

As TheOrgWiki is an OpenIDConnect app, choose to log in to OrgWiki using your Microsoft work account.

After a successful authentication, the application is automatically added to your tenant and you'll be redirected to your TheOrgWiki account.

Step 4: Configure automatic user provisioning to TheOrgWiki
This section guides you through the steps to configure the Microsoft Entra provisioning service to create, update, and disable users and/or groups in TheOrgWiki based on user and/or group assignments in Microsoft Entra ID.
Configure automatic user provisioning for TheOrgWiki in Microsoft Entra ID
Sign in to the Microsoft Entra admin center as at least a Cloud Application Administrator.
Browse to Entra ID > Enterprise apps
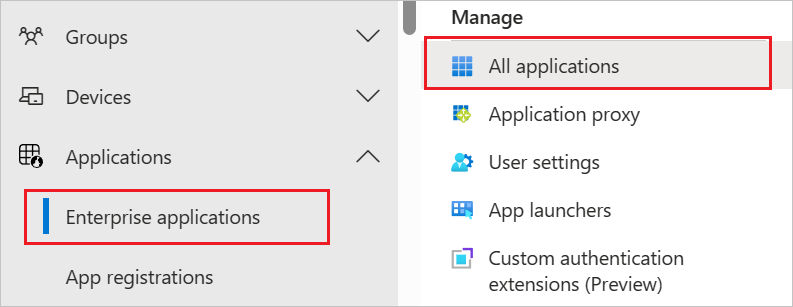
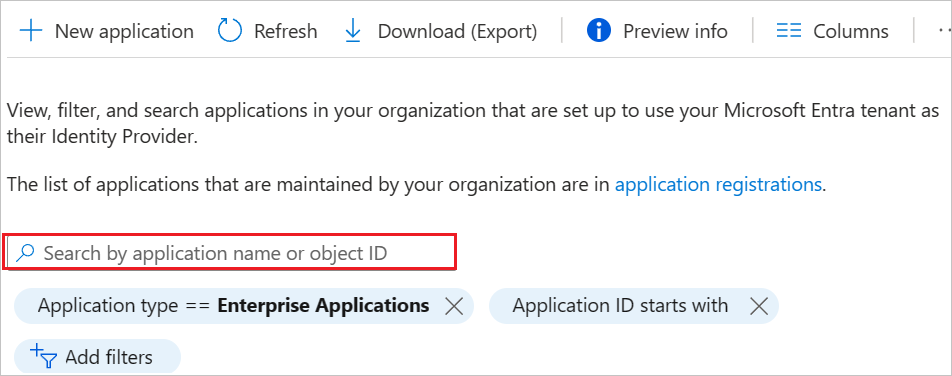
In the applications list, select TheOrgWiki.
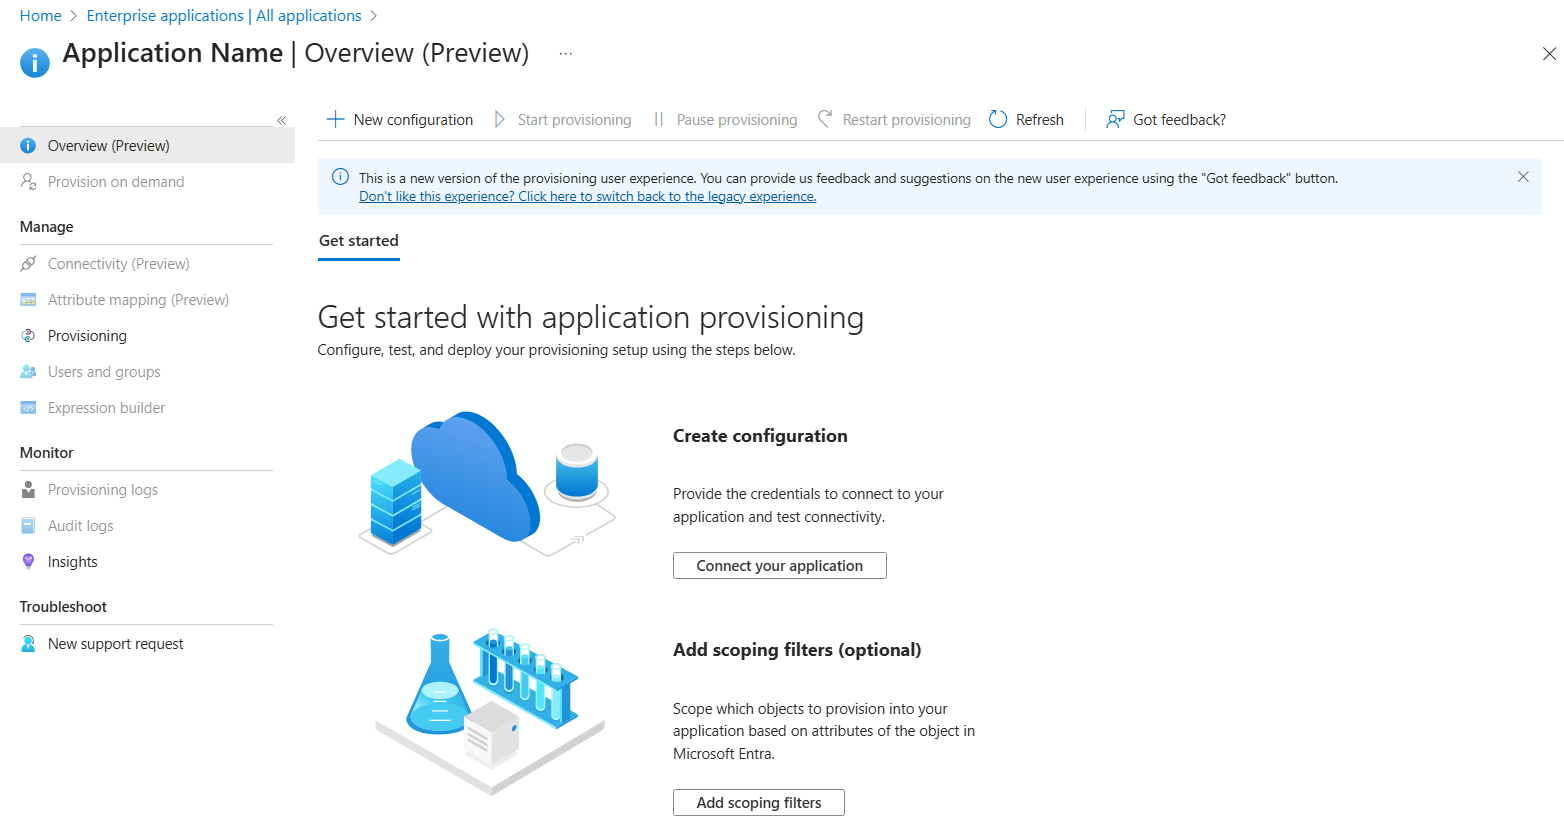
Select the Provisioning tab.

Select + New configuration.
Under the Admin Credentials section, enter
https://<TheOrgWiki Subdomain value>.theorgwiki.com/api/v2/scim/v2/in Tenant URL.Example:
https://test1.theorgwiki.com/api/v2/scim/v2/Note
The Subdomain Value can only be set during the initial sign-up process for TheOrgWiki.
Enter the token value in Secret Token field, that you retrieved earlier from TheOrgWiki. Select Test Connection to ensure Microsoft Entra ID can connect to TheOrgWiki. If the connection fails, ensure your TheOrgWiki account has Admin permissions and try again.

Select Create to create your configuration.
Select Properties on the Overview page.
Select the Edit icon to edit the properties. Enable notification emails and provide an email to receive quarantine notifications. Enable Accidental deletions prevention. Select Apply to save the changes.

Select Attribute Mapping in the left panel and select users.
Review the user attributes that are synchronized from Microsoft Entra ID to TheOrgWiki in the Attribute- Mapping section. The attributes selected as Matching properties are used to match the user accounts in TheOrgWiki for update operations. Select the Save button to commit any changes.
 .
.To configure scoping filters, refer to the instructions provided in the Scoping filter article.
Use on-demand provisioning to validate sync with a small number of users before deploying more broadly in your organization.
When you're ready to provision, select Start Provisioning from the Overview page.
Step 5: Monitor your deployment
Once you configure provisioning, use the following resources to monitor your deployment:
- Use the provisioning logs to determine which users are provisioned successfully or unsuccessfully
- Check the progress bar to see the status of the provisioning cycle and how close it's to completion
- If the provisioning configuration seems to be in an unhealthy state, the application goes into quarantine. Learn more about quarantine states the application provisioning quarantine status article.
More resources
- Managing user account provisioning for Enterprise Apps.
- What is application access and single sign-on with Microsoft Entra ID?